Showing posts with label Interactive card. Show all posts

Tuesday, 28 June 2022

Welcome Precious Twins

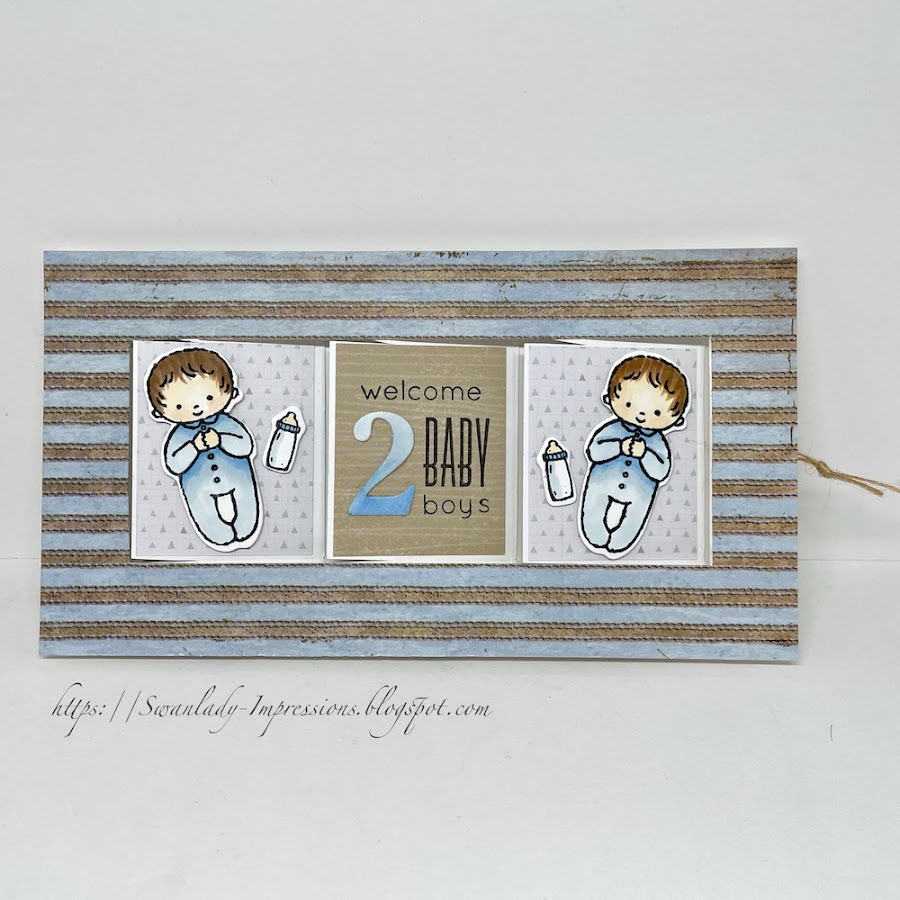
When I saw spotted this amazing shutter card by Ptit Ange over on Mes P'tit Ciseaux, I knew I had to make one.

Here is my take for my friend's daughter who has just had the sweetest twin boys. I used my NBUS Stampin' Up Sweet Baby set.


Here it is in action …


My entry to ...

... Inkspirational : Precious

... The Card Concept #178 I went with the colours. Hope that is acceptable.

... NBUS #39


Wednesday, 8 July 2020

Endless Birthday Flowers

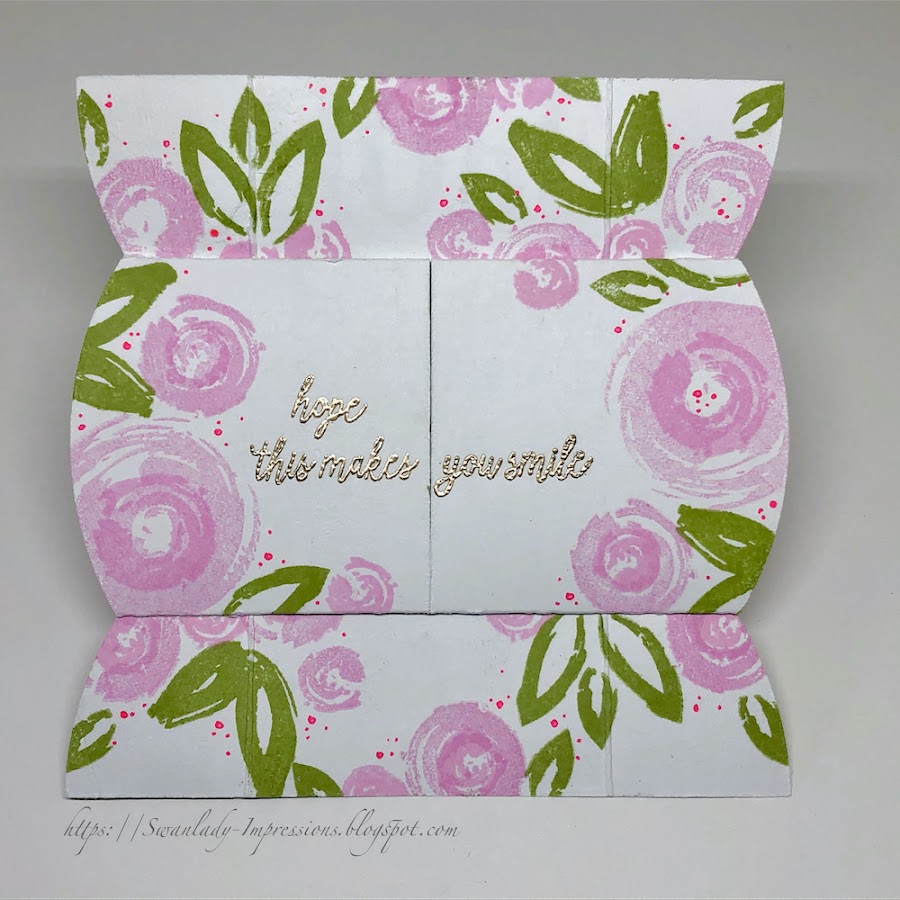
Sometimes you need that extra special card for that extra special person.  What better than endless wishes!

The sentiments are embossed in Platinum - one of my favourites!

Here are the 5 views...


Here it is in action ...


My entry to ...

... The Paper Players : Fun and Fancy Folds


... AAA Birthday : 3D


... Simon Says Stamp Wednesday Challenge : Moving Parts


Saturday, 12 October 2019

Special Wishes

Sometimes you need to send extra special wishes!

I have one friend who loves the warm colours of orange and pink.


And another who is more into greens and blues!


My entry to ...

... Just Add Ink : Just add "H"  I have both "Hello" and "Happy Birthday"


Sunday, 22 September 2019

Snail Mail

I just love this fun stamp set which makes the cutest interactive cards.


My entry to ...


Saturday, 25 May 2019

Mail

This Mail Drop stamp and die set was too irresistible!

Sunday, 3 March 2019

AAA Challenge Guest Designer

I am so happy to be the guest designer at AAA Cards Challenge #135. This fortnight, the challenge is One Sentiment Plus Three with an optional twist of Friends.


I went with :
  • stamped image
  • coloured pen/pencil (Prismacolor) - on the butterfly
  • die cut

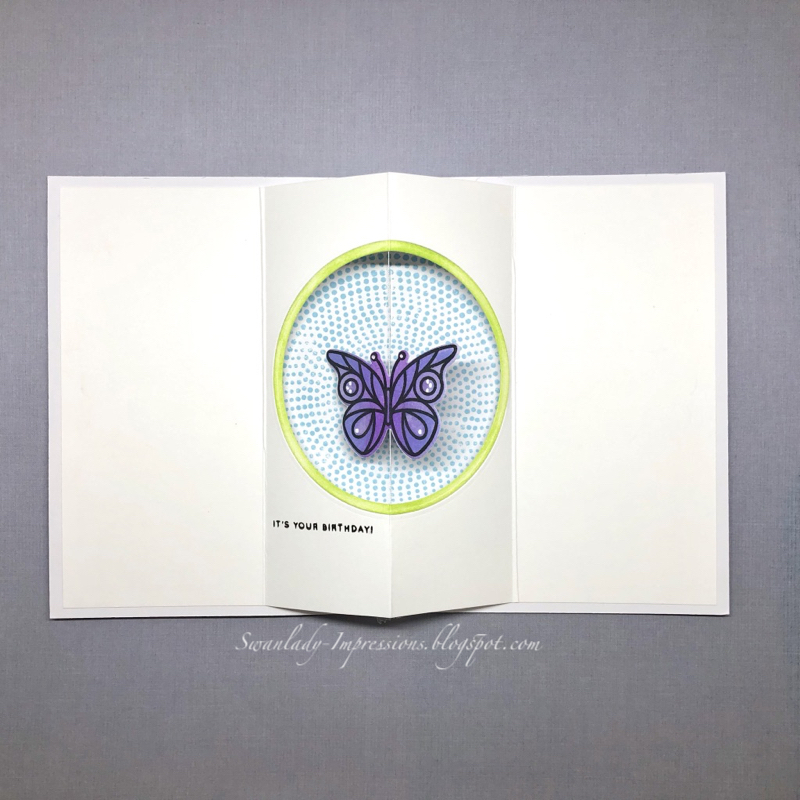
I thought I would add some excitement to the inside, using Jennifer McGuire's Surprise Spinner idea.


Here it is in action ...


This was my second attempt as I was winging it on the first. On Jennifer's last card, she had said you needn't measure but just make the fold next to your opening. But when I closed the card, my butterfly extended past the edge by quite a lot - see how it goes passed the white edge.  So in fact, her original measure of having the folds a minimum of 2.5" from each edge is better.


So I ended up gluing it to a large square card, stamping the inner panels to add interest ( and camouflage my error!). So don't worry if you don't get it right the first time. I find there are ways of fixing errors too - and sometimes it even ends up better than the original


Tuesday, 26 February 2019

Bouncing with happiness!

The CASology Challenge has the cue word of BOUNCE this week!

For when you're so happy for someone, you're jumping for joy and bouncing about! Or at least I am!


And here it is in action ...


Bounce along and visit the lovely DT blogs and see what they are bouncing about.
If you would like to see the steps I took to make this card, you can keep going ...

Step 1 : Stamp your image on the insert page. This will have to be narrower and shorter than the front of your card.  I cut out a strip from each side to leave a "blocker" tab at the bottom so that it will not escape from the card.


Step 2 : Stamp the image that will be moving on a separate piece of paper, and cut it out.


Step 3 : This is the front of the card. I had laid the insert on the front of the card and marked in pencil where the insert card will be moving, and the maximum height I wanted it to go (where the blocker tabs must stop). Lay down double sided foam tape on the side and bottom edges making sure it will not go in the place where the insert page goes.


Step 4 : Lay the insert page in the space.


Step 5 : Here you can see how the blocker tabs will stop when it hits the foam step at the top. In fact, I made my tabs a little wider as I felt there was too much wiggle room.


Step 6 : Make the top layer of your card. In my case, I needed it exactly the same size as the card. [If you want a border around the top layer, then you need the foam tape on the card front to NOT go to the edge, as described on the previous step].You need to make a cut out "groove" where the movement will take place.  I don't have one of the die sets that do this so I just used a tiny tag die. After taking the photo, I actually made it a little longer by turning the die around, keeping it in line and cutting a little higher so that I had more space for movement.


Step 7 : Peel off the paper on the foam tape on the card front, and stick the top layer on the card. It was actually at this point that you can stick the small square of foam tape at the bottom of the movement groove.


Step 8 : Stick your image that will be moving on the foam dot. [I had put double sided foam on the edges of my hedgehog - but did NOT take off the tape. This keeps it level, but allows it to slide easily.) Voila!

Related Posts with Thumbnails